Thursday, November 10, 2011

Tissue Paper Suncatchers

Our front door has three funny little windows. These windows face due east and let the very bright morning light shine straight down our hallway into the master bedroom. This is quite annoying to me, so I have tried to find ways to cover those windows so that I'm not woken by the glaring light. I finally found an idea that is beautiful and effective! I did fall leaves for the season, but once December hits, I'll be making more of these with more Christmasy type shapes.

What you'll need:
-cardstock, two sheets per shape (front and back sides)
-tissue paper
-contact paper
-X-acto knives (or some sort of razor)
-rulers
-glue (not pictured)
-print-outs of the shape you want to make
-a cutting surface safe for razors

Cut your card stock down to the size you need. Or just cut it in a pretty shape if you're just hanging these in the window (not filling a specific space).
Tape your shape to cut onto the cardstock. I found it easiest to tape two sheets of cardstock together and cut both sheets at once.
As you can maybe see, the second layer of cardstock was only scored by my brand new x-acto knife. I had to go back over the lines on the second sheet, but it was much easier than starting fresh each time.
Both layers are cut out! They aren't perfect, but they're certainly close enough.
I took the two layers of cardstock apart and put 4 layers of tissue paper down.
I ran a glue stick along all the edges to help secure the tissue paper. I also added some dabs of glue between the layers of tissue paper to help keep it together. However, you probably want to leave one layer of tissue paper unglued until the last minute so that you can easily align the cut-outs.
I put the second cardstock cut-out on the back and held the whole thing up to the light to make sure they were aligned. This was a bit difficult because of the glue.
Next, I cut my contact paper out to the right size and laid it out.
I put my cardstock cut-out onto it, flattened it down, then did the other side.
There were a few wrinkles, but that was just fine for the leaves.
Then I checked my fit in the window and trimmed the sides a bit. It really frustrated me that the tissue paper shows through the cardstock. Next time I will make sure that the tissue paper is the full size of the cardstock so that you can't see the edges like you can in this picture.
Otherwise, I love how these turned out! Here they are at night...

And in the morning! So much better than the ugly construction paper I had up there before. :)

~Regina

Thursday, November 3, 2011

Fall Leaf Stained Glass

A fun project to do with a little person!

We went out on a walk and collected a bunch of pretty leaves. Then we ironed the leaves between pieces of wax paper (iron on high, no steam--make sure to cover the wax paper with cloth on both sides!). Once the leaves were nice, flat, and dry, we were ready to use them.

I laid out a nice sheet of clear contact paper, sticky side up, and taped the edges down with painters' tape. We laid the leaves out on it.
Then we took off the painters' tape, stuck the contact paper to the window, smoothed it out and we were done!
Our little girl was so proud of herself!
The leaves look gorgeous when the rising sun shines right onto them.
I did end up cutting off some of the contact paper with an X-acto knife to form a more rounded outline of the leaf sheet because the straight edge was very stark.

~Regina

Wednesday, October 26, 2011

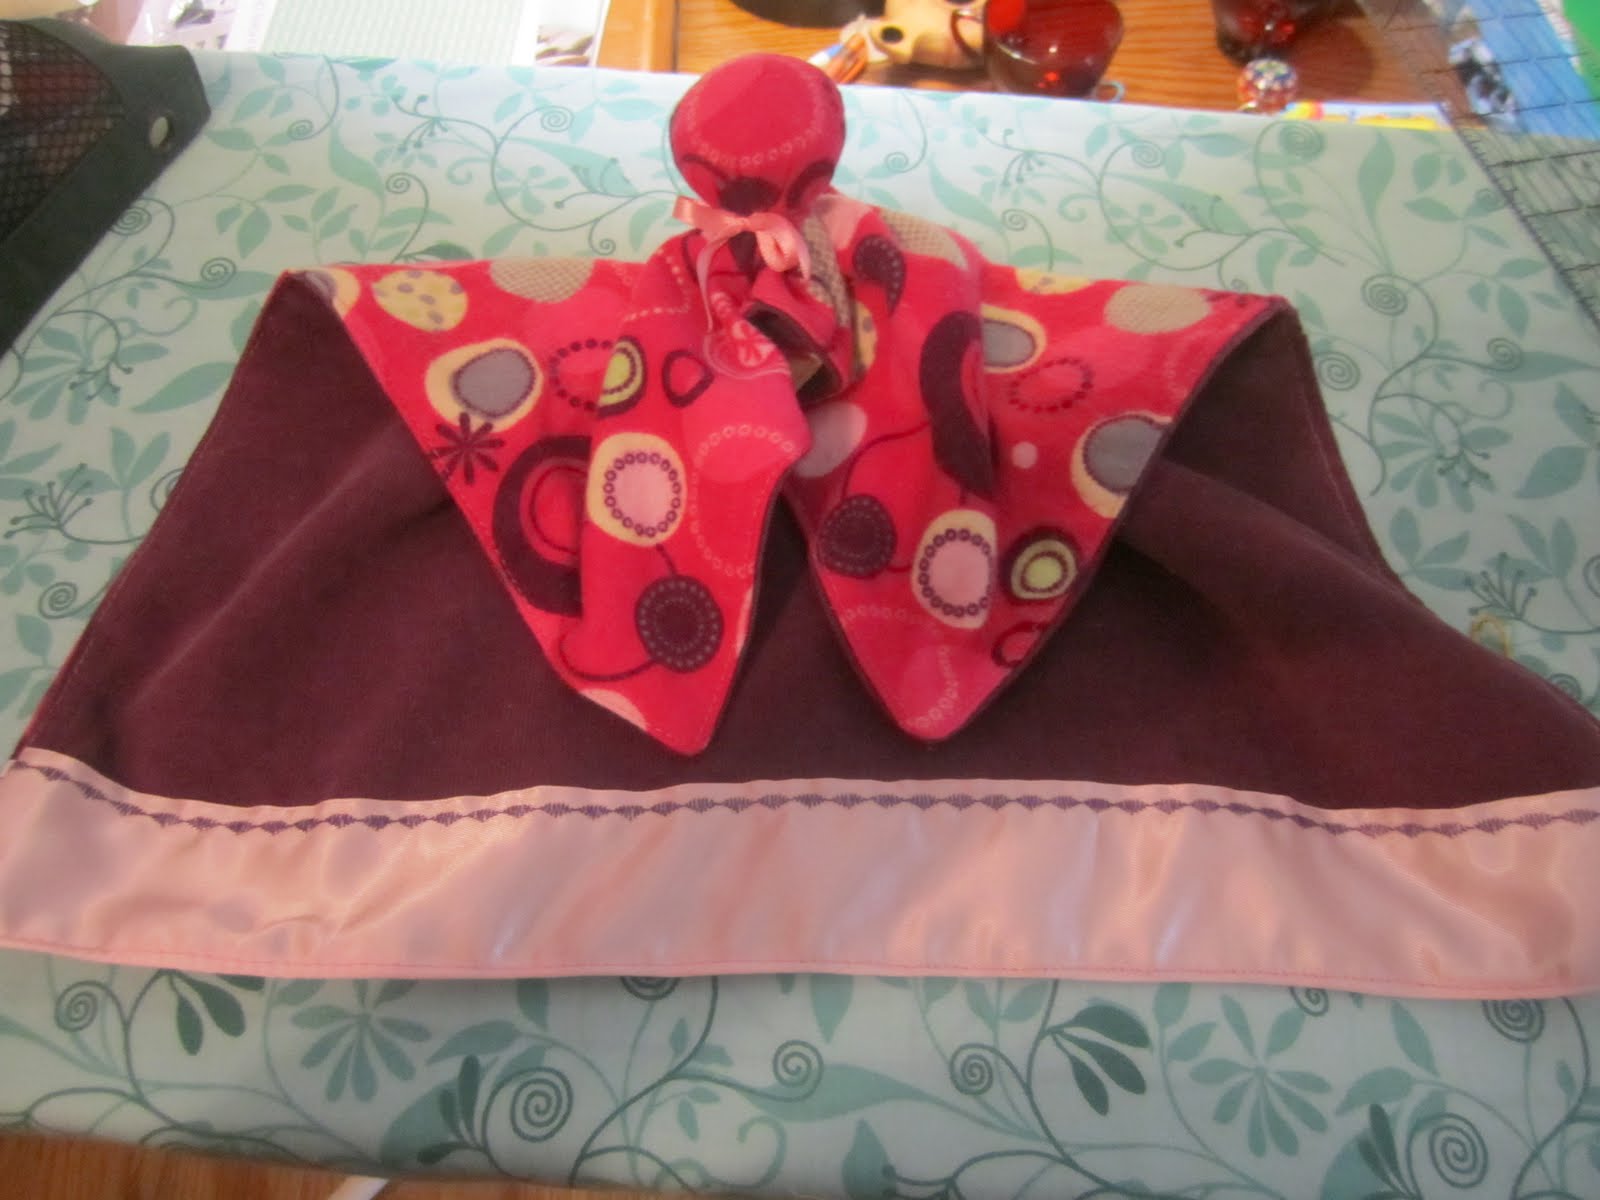
Nubbie Doll

The baby is 6 weeks old, guess maternity leave is over! ;)

Before our little guy was born, I spent some time looking at the wide variety of loveys available on the market. I loved how the Cuski looked, but not the price tag, so I set out to find something similar. I found the Nubbie Doll at WeeFolkArt.


I had decided I was going to make two of these as stocking stuffers for our kiddos. Then our church started the drive to collect Operation Christmas Child boxes and I realized that one of these would be a perfect little doll/lovey/thing to include in a box! Actually, I have to thank my mother in law for really being the one who gave me this idea since she had mentioned including simple hand-made loveys in boxes in years past. I just hadn't thought about it until I was looking at the tutorial for this little doll.


This little doll is super easy to make. I made it more complicated by using two fabrics rather than just one, but it still is super-duper easy. I loved the bright pink flannel and I backed it with the deep purple corduroy. The fabrics are sooo nice and soft. I hope they hold up well for whoever gets this gift!


I had fun with the decorative stitches on my machine. I hadn't had a reason to use them yet (I've had the machine for only about a year), so it was great to have a reason to flip through all of them.


The head itself is pretty easy and not too big. The doll is the perfect size for little hands and will pack nice and compactly in the shoe box! I may experiment with the shape of the doll with the ones I make for my kiddos, but I really like the way this doll turned out. It's perfect for a Christmas shoebox.

I decided just to show my little doll off rather than writing up a full tutorial since the WeeFolkArt one is nice and clear... and I have a fussy baby on my lap.

~Regina

Saturday, September 24, 2011

Taking it Easy

We're enjoying getting to know our new little guy.
Even our little girl is enjoying his sweet, newborn smushiness.
Not too much crafting going on around here right now.
That is all. :)

~Regina

Tuesday, September 13, 2011

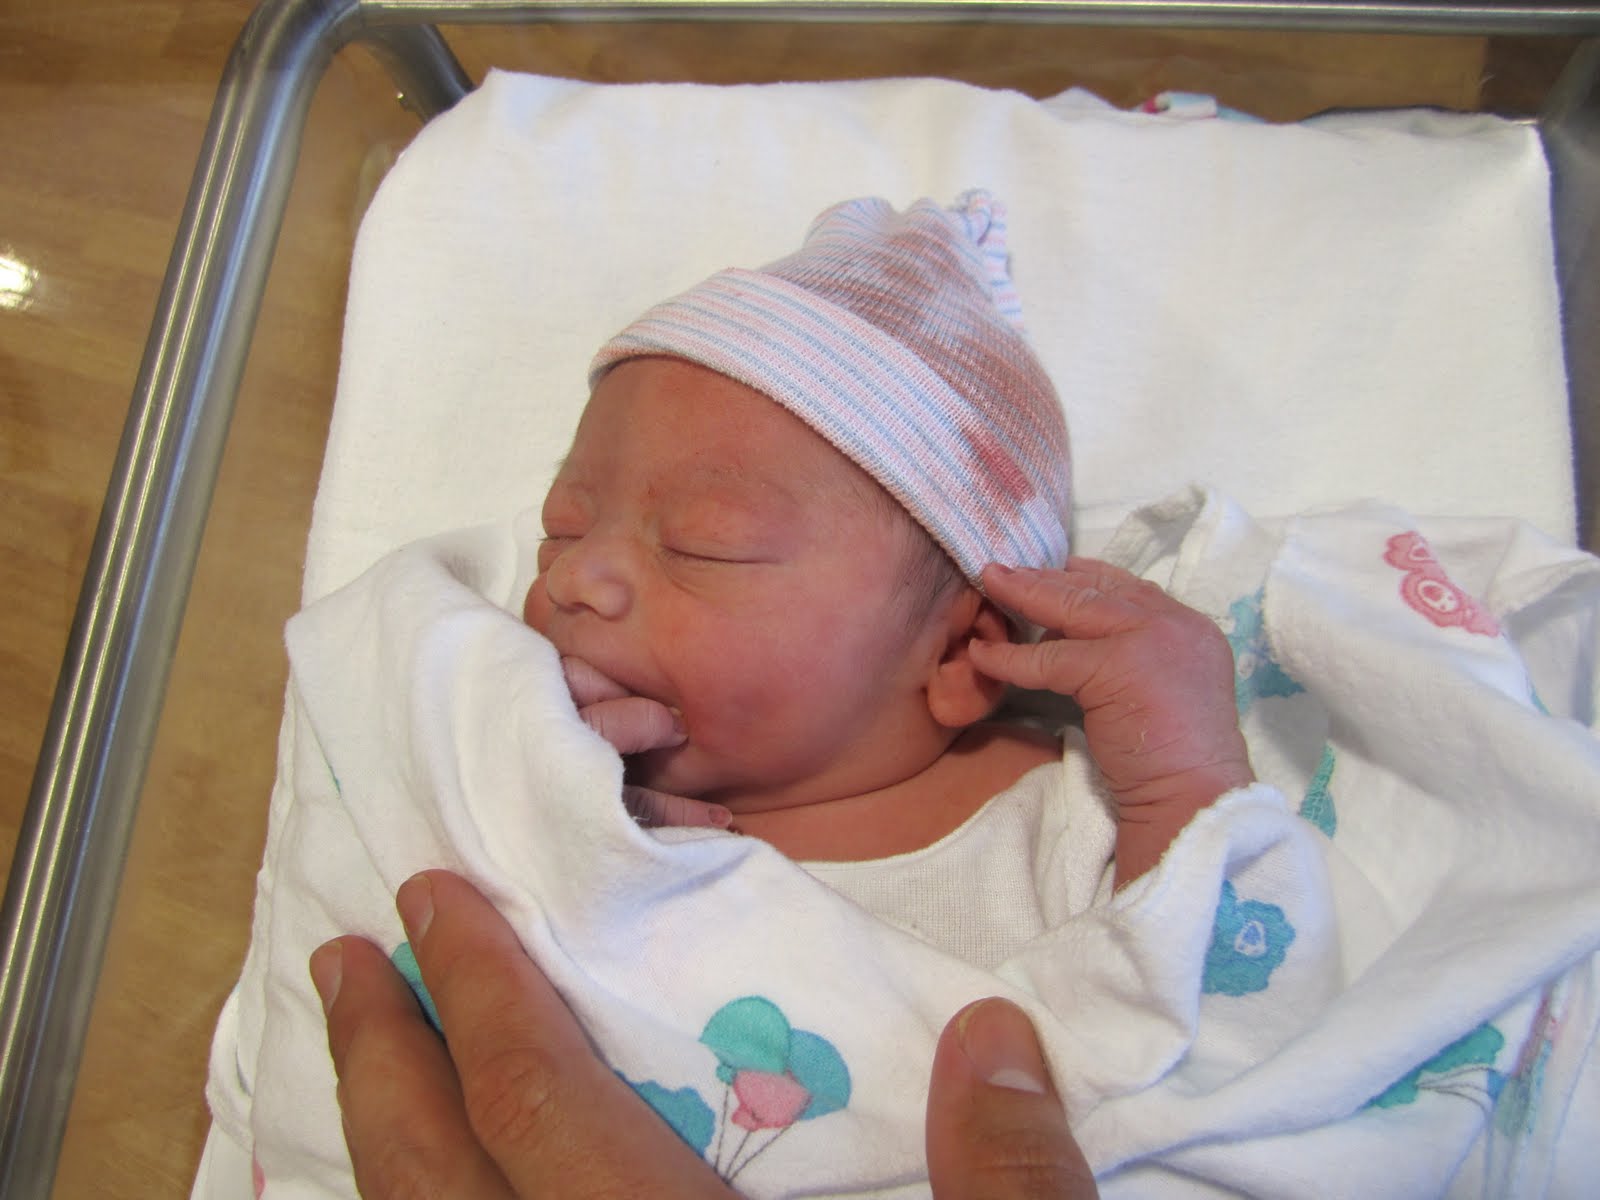
He's Here!

Our precious little boy arrived on Sunday, September 11th at 9:52am.

He weighed 7lb, 13.5oz and measured 20.5 inches.

First picture!

He loves sucking on his fingers.

Precious tiny toes held by daddy's great big hand.

We just got home from our 48 hour hospital stay and are trying to settle in. Big sister is overwhelmed and excited but doing well, all things considered.

Welcome to the world, little one!

~Regina