Showing posts with label doll. Show all posts

Thursday, July 12, 2012

Swaddle Baby

When I stumbled across BeccaMarie's tutorial for a swaddle baby, I knew I had found not only the perfect gift for my just-turned-one-year-old niece, but also another idea for Operation Christmas Child boxes! It's a little more involved than the Nubbie dolls, but it's still pretty simple. I made it more complicated by adding arms.

BeccaMarie also has a wonderful tutorial on how to paint the face. I went with a more anime style eyes but I think I'll try the smaller, round eyes next time.
See the cute little arms? I totally cut those out free-form and they turned out great. I don't recommend doing that, but it worked this time.
The back.
And the layers still separate!
If you haven't done yarn hair before, then BeccaMarie also has an awesome tutorial for that! I've looked all over the internet for simple tutorials on sewing on doll hair and this is one of the best I've seen. :)

Hope this gives someone some good ideas for crafting!

~Regina

Monday, December 26, 2011

More Christmas projects!

I managed to make and wrap several of my Christmas project before photographing them, so I only just managed to get photos now! Oops. :)

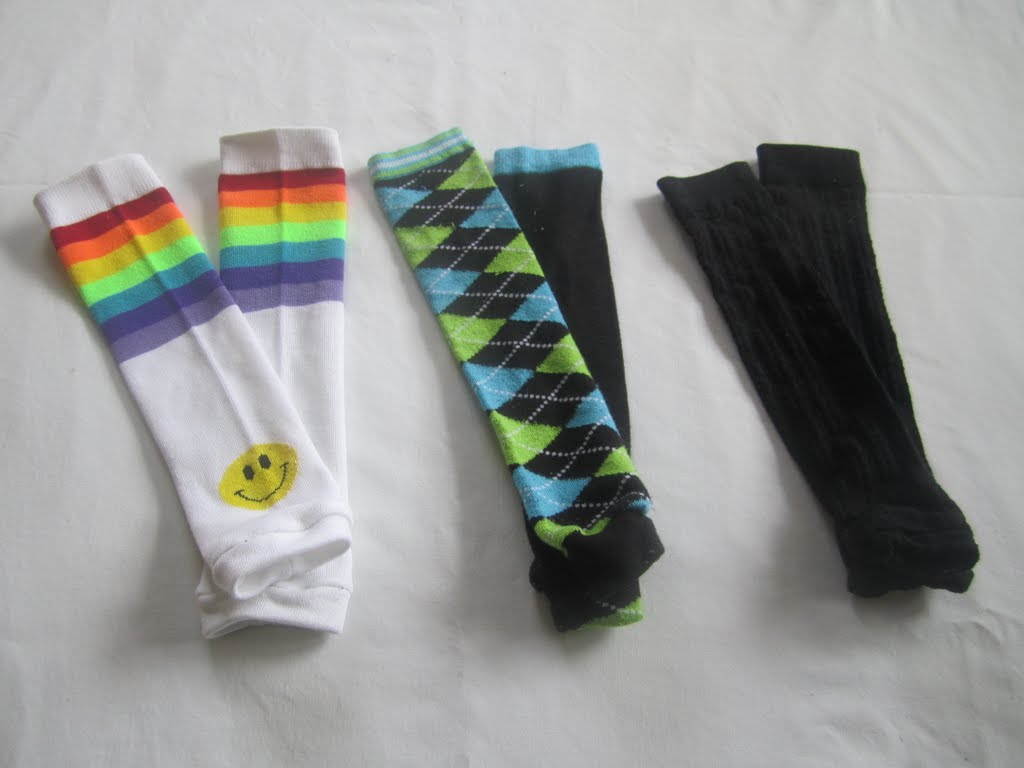
Baby legwarmers for our little guy (tutorial here).
Nubbie dolls for both kiddos (tutorial here).
And two simpler ones for a friend's two babies.
Wrench rolls for my husband! This was quite the involved project.
I will be posting my process photos and explanation of how I put them together later.
A stop sign for across the door to the tree (a family tradition in my family).
Coordinated pjs for the kiddos. I'm quite proud of these, even if the baby's outfit ended up being 6 months too large (it SHOULD have fit him, I'm not sure what was going on with the pattern sizing).
A cute little hat for our daughter. It makes me think of a cupcake every time I see it. (The basic hat pattern is based on this one.)
Crocheted balls for our little guy (tutorial here). These are quick and easy, I'll probably be making some more in the next couple weeks.
Well, they're more for our daughter to throw around the room and they won't hurt our little guy. Win-win!
A booster seat cushion to replace the booster seat for our daughter. She's a big girl now! I made it using iron-on vinyl and I think I've sworn never to use the stuff again. Talk about hard to work with!
And this last thing I actually just made today: a little house for our daughter's new night light. The little glowing animal was a bit too bright, so I put together a felt house to help reduce its light out-put and then added curtains to pull across. Our daughter was quite excited about having a house for her "little glowing friend."


That's what I've been up to for the past several weeks! Busy, busy, busy! :) Our daughter's 3rd birthday is in a month, so I've got more things to work on! :)

~Regina

Wednesday, October 26, 2011

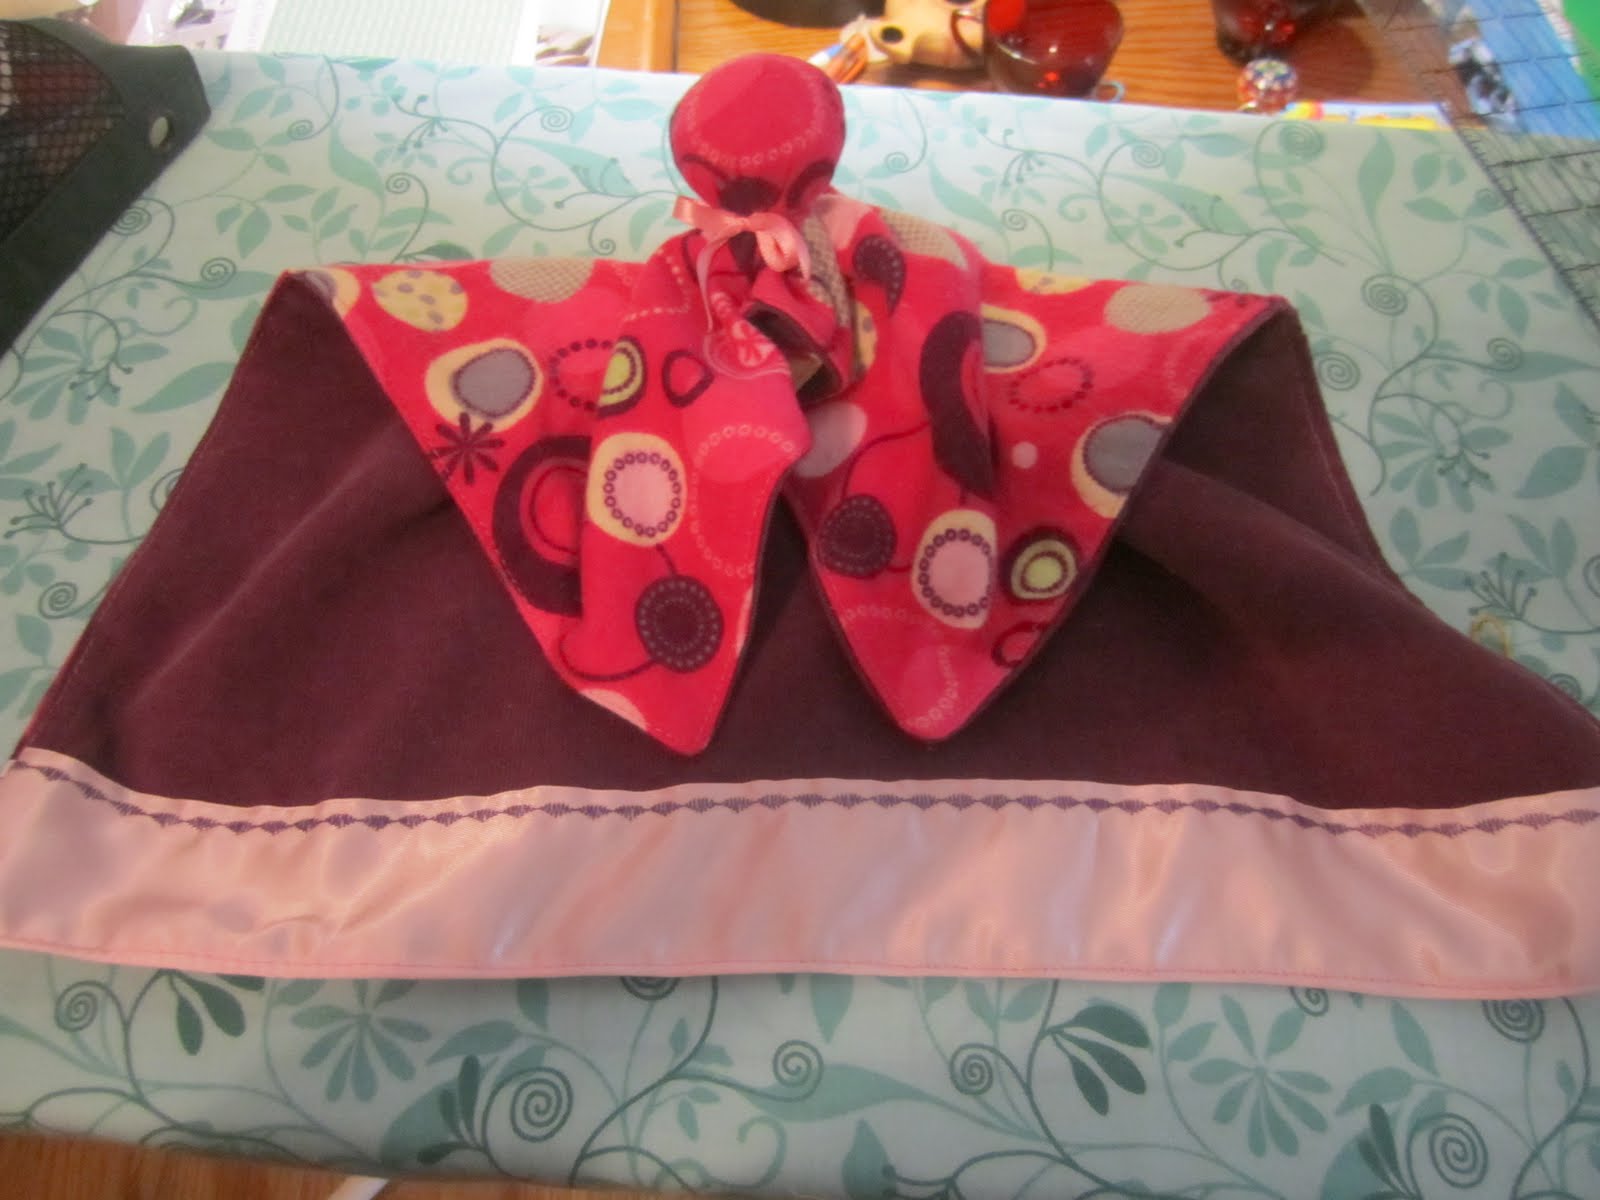
Nubbie Doll

The baby is 6 weeks old, guess maternity leave is over! ;)

Before our little guy was born, I spent some time looking at the wide variety of loveys available on the market. I loved how the Cuski looked, but not the price tag, so I set out to find something similar. I found the Nubbie Doll at WeeFolkArt.


I had decided I was going to make two of these as stocking stuffers for our kiddos. Then our church started the drive to collect Operation Christmas Child boxes and I realized that one of these would be a perfect little doll/lovey/thing to include in a box! Actually, I have to thank my mother in law for really being the one who gave me this idea since she had mentioned including simple hand-made loveys in boxes in years past. I just hadn't thought about it until I was looking at the tutorial for this little doll.


This little doll is super easy to make. I made it more complicated by using two fabrics rather than just one, but it still is super-duper easy. I loved the bright pink flannel and I backed it with the deep purple corduroy. The fabrics are sooo nice and soft. I hope they hold up well for whoever gets this gift!


I had fun with the decorative stitches on my machine. I hadn't had a reason to use them yet (I've had the machine for only about a year), so it was great to have a reason to flip through all of them.


The head itself is pretty easy and not too big. The doll is the perfect size for little hands and will pack nice and compactly in the shoe box! I may experiment with the shape of the doll with the ones I make for my kiddos, but I really like the way this doll turned out. It's perfect for a Christmas shoebox.

I decided just to show my little doll off rather than writing up a full tutorial since the WeeFolkArt one is nice and clear... and I have a fussy baby on my lap.

~Regina