Showing posts with label paint. Show all posts

Wednesday, March 21, 2012

T-Shirt Painting with Toddlers

Our 3 year old had a distinct lack of summer clothing in this unseasonably warm weather. We picked up some t-shirts from the thrift store--some cute, but some very plain. I immediately  made plans to spruce them up, then got the idea to include our daughter, hoping she was old enough to handle it. She was, in fact, absolutely wonderful.

She even had her own idea about how to decorate one of them.
 She had her heart set on the flowers and fairy from Harold's Fairy Tale.


 I cut freezer paper to the size of the front of the shirt and traced the pictures straight out of the book using a sharpie. The moon was the finishing touch--also suggested by my daughter.
 I cut the shapes out going along the outside of the lines. Then I went back and cut along the inside of the lines. I ironed the main shapes onto the shirt first, then carefully added in the inside shapes so that only the space that used to be lines would be painted.

 Then I managed to spill a bunch of water on it and I had to take some time to cry it out. The blowdrier worked pretty quickly. :)
 Finally! Time to paint! I set her up outside with some nice purple paint and let her go to town.
 She was so excited.
 She decided she was done once she got here, but she came back later and filled up the rest of the white space, just for good measure.
 She really layered on the paint, but it barely soaked through the other side. The newspaper in between the layers of the shirt was just in case it soaked through badly.
 It turned out wonderfully! Here's the fairy...
 And the flowers!
 Sooo cute! Our daughter did such a great job. :)

~Regina

Sunday, August 7, 2011

Homemade Paints!

I've been trying out lots of fun activities with our little girl this summer. She loved painting with watercolor so much, that I decided to try more traditional paints.

Recipe here (scroll to the bottom)

Flour Fingerpaint

1 cup flour
2 tablespoons salt
1 1/2 cups cold water
1 1/4 cups hot water
Food coloring or tempera paint

Directions

1. Put flour and salt in saucepan.
2. Add cold water and beat with whisk or eggbeater until smooth.
3. Add hot water and boil until mixture is thick.
4. Beat again until smooth.
5. Color as desired with food coloring or powdered tempera paint.
6. Store covered in refrigerator.

My little girl watched me while I cooked the paint, then she got to help make the colors!
 She LOVED mixing the food colorings in.
 Finally, it was time to paint!
 She had to make sure that each paint brush matched the paint it was in as closely as possible...
 Finally, we got around to some painting. I had to show her "how" to paint.


 The paint didn't cover the paper quite as nicely as I would have liked. My daughter also wasn't as thrilled with this type of paint as she was with the water colors. I tried thinning out the paint the next time, but it didn't help her want to do it more. So the paints sat in our fridge for 6 weeks until I realized that they had started to grow mold. Yuck. I guess we need to buy non-perishable paint if we want to keep it around...

~Regina

Tuesday, July 12, 2011

Beautiful Butterfly Garland

I recently discovered Play at Home Mom's blog and facebook page. They have lots of great ideas for activities to do with your kids. What's really great is that their kids are about the same age or younger than our daughter, so the ideas are generally age-appropriate! Yay!

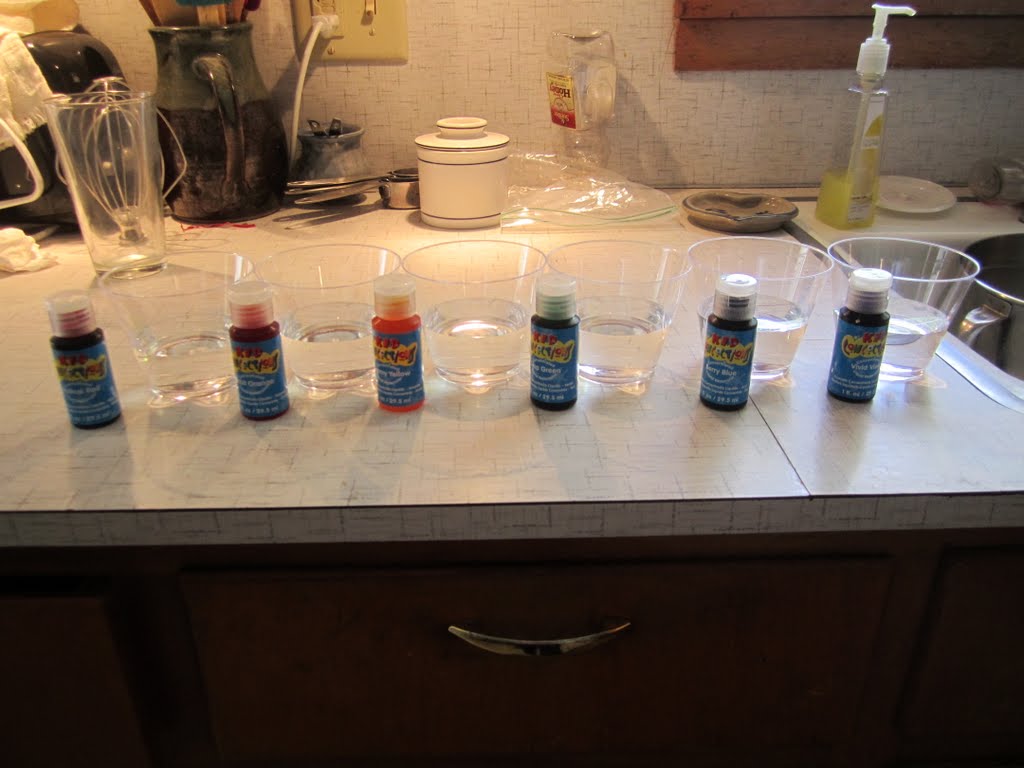
One of our favorite new activities is painting with liquid watercolor.
You add drops of concentrated liquid watercolor into water and start painting--very easy!

Our little artist's favorite thing to do is pour and mix the colors.
The paintbrushes are pretty cool, too, they're good for mixing the colors on the paper!
Most of our colors got mixed to look mostly purple. :)
Hanging up to dry!
Then I decided to do something fun: I rubbed both sides of the paper (it was 110 lb cardstock) with oil and sandwiched it with papertowels and heavy books to help the paper flatten again. The oil caused the paper to become slightly translucent. Then I traced butterflies onto the paper.
I cut them out...

And sewed them all together into a chain at different intervals.

Then we hung the butterflies up over our girl's bed. They turned out so beautifully!


She was thrilled with them and wants to make more. :)

So that's some of our summer fun around here!
~Regina