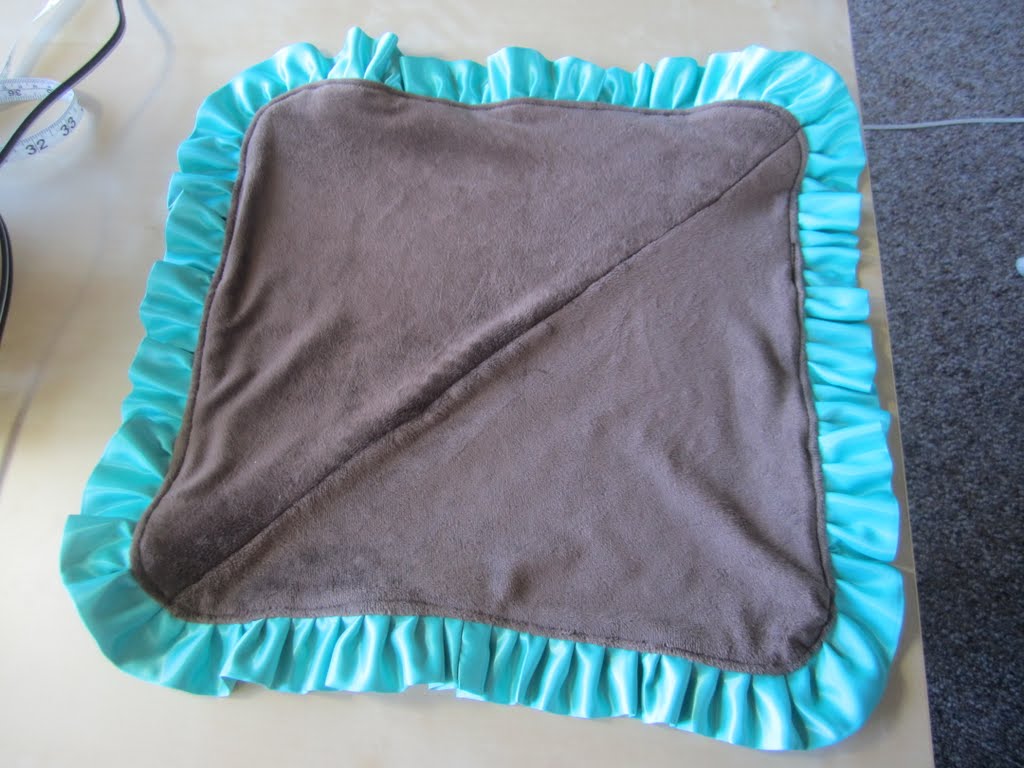
I've seen some lovely "travel sized" loveys and fancy blankets for sale here and there. I keep seeing them and thinking, "I could make that!." I hadn't gone to the trouble of trying to make one until I noticed that my super spitter-upper is beginning to cuddle with his spit-up cloths. Then inspiration struck: why not make a fancy, cuddly spit-up cloth?
Since this was my first try, I just grabbed scraps from other projects. I pieced the soft microfleece back, used the leftover satin binding from making the baby's
nubbie doll, and used the terry cloth liner from a cloth diaper that never got used (I got it for free as a sample). I trimmed everything down to the right size, added an appliqué to the terry cloth side of the cloth, and then set out to try out my new ruffler foot. Whee!
This thing is a beast. But actually, it just snapped onto my foot, so it wasn't as hard to get on as I thought it would be.
After reading the instructions through several times and fiddling with the settings, I got my ruffles to look about right. The ruffler didn't work perfectly (my needle kept getting knocked loose!), but it certainly worked better than the standard way of making ruffles.
I had to undo several ruffles to join the raw ends, but it was easy to re-fold the ruffles.
Pin, pin, pin, pin! Make sure to pin the ruffle pointing in so that when you turn the whole thing right side out, it points out.
Pin the other side to it, right sides together. Sew it all together, leaving a gap of 3-5 inches for turning.
Once it's all together, pull out the pins, and turn it all right side out.
Pin the hole, making sure all the layers are in line, and top stitch.
All done!
Yes, it look a bit girly, but a heart and a few ruffles never hurt a little boy... ;)
He actually loves it, though you couldn't tell it from this photo. ;)
~Regina