With the cold weather coming, we need to keep our little people nice and warm!
I decided to make a "shower cap" style car seat cover for our infant seat because I knew I could make it for less than the going price out there ($20-$30) and it would be a lot cuter. I had the solid fleece leftover from another project, I bought the monkey fleece from the remnant bin, and everything else I already had on hand. This project took me an afternoon and cost about $3.
***A note about car seat safety: this type of cover is considered safe and will not void your car seat's warranty in the event of an accident because it does not interfere with the straps or safety features of the seat. There are many car seat buntings that go under the child or that have you thread the straps through them. Those are not safe and if you use them, your child cannot be guaranteed to be safe in the event of a crash. Any extra padding can compress and allow too much slack in the straps (which are made to stretch up to 6 inches in a crash) so that the child could slip out. Anything interfering with the straps could prevent them from functioning correctly or stress them in the wrong way so that they break.***
OK, now that that's out of the way, onward! Just to warn you, this is more of a description of how I did this, rather than a tutorial. I couldn't figure out how to make it less confusing, but I think someone could take my ideas and modify them to make one themselves....
To help you visualize what we are making, all it is is a ring of fabric with a circle sewn onto it. I used about 1.5 yards of 60 inches wide fleece for the cover--or about 3/4 yard of outer fabric and 3/4 yard of lining fabric. I was kind of flying by the seat of my pants on this, so I didn't actually know I had enough until the very end. ;)
First, measure your car seat. Mine is 28 inches tall, 14 inches wide, and about 76 inches around. I played around a bit before figuring out that I preferred my long strip of fabric, which would make the ring that goes around the car seat to hold the cover on, to be about 8 inches wide. I added a bit of length and width and started cutting.
I seriously should have taken pictures of this part, but I didn't...feel free to ask questions in the comments so I can clear anything up...
I cut 4 strips of fabric 40 inches long by 9 inches wide (2 outer fabric, 2 inner fabric). I joined the matching fabrics into into 2 long strips of about 79 inches long and then sewed them all together (right sides together). So now you have your outer and lining fabric stitched into a long tube, right sides together.
Before turning the right side out, I wrapped them around the car seat, pinned it in place, and marked where the handles were so that I could contour the fabric a bit. I pinned along my markings and sewed along the line. Then I cut off the extra fabric and turned the entire tube right side out.
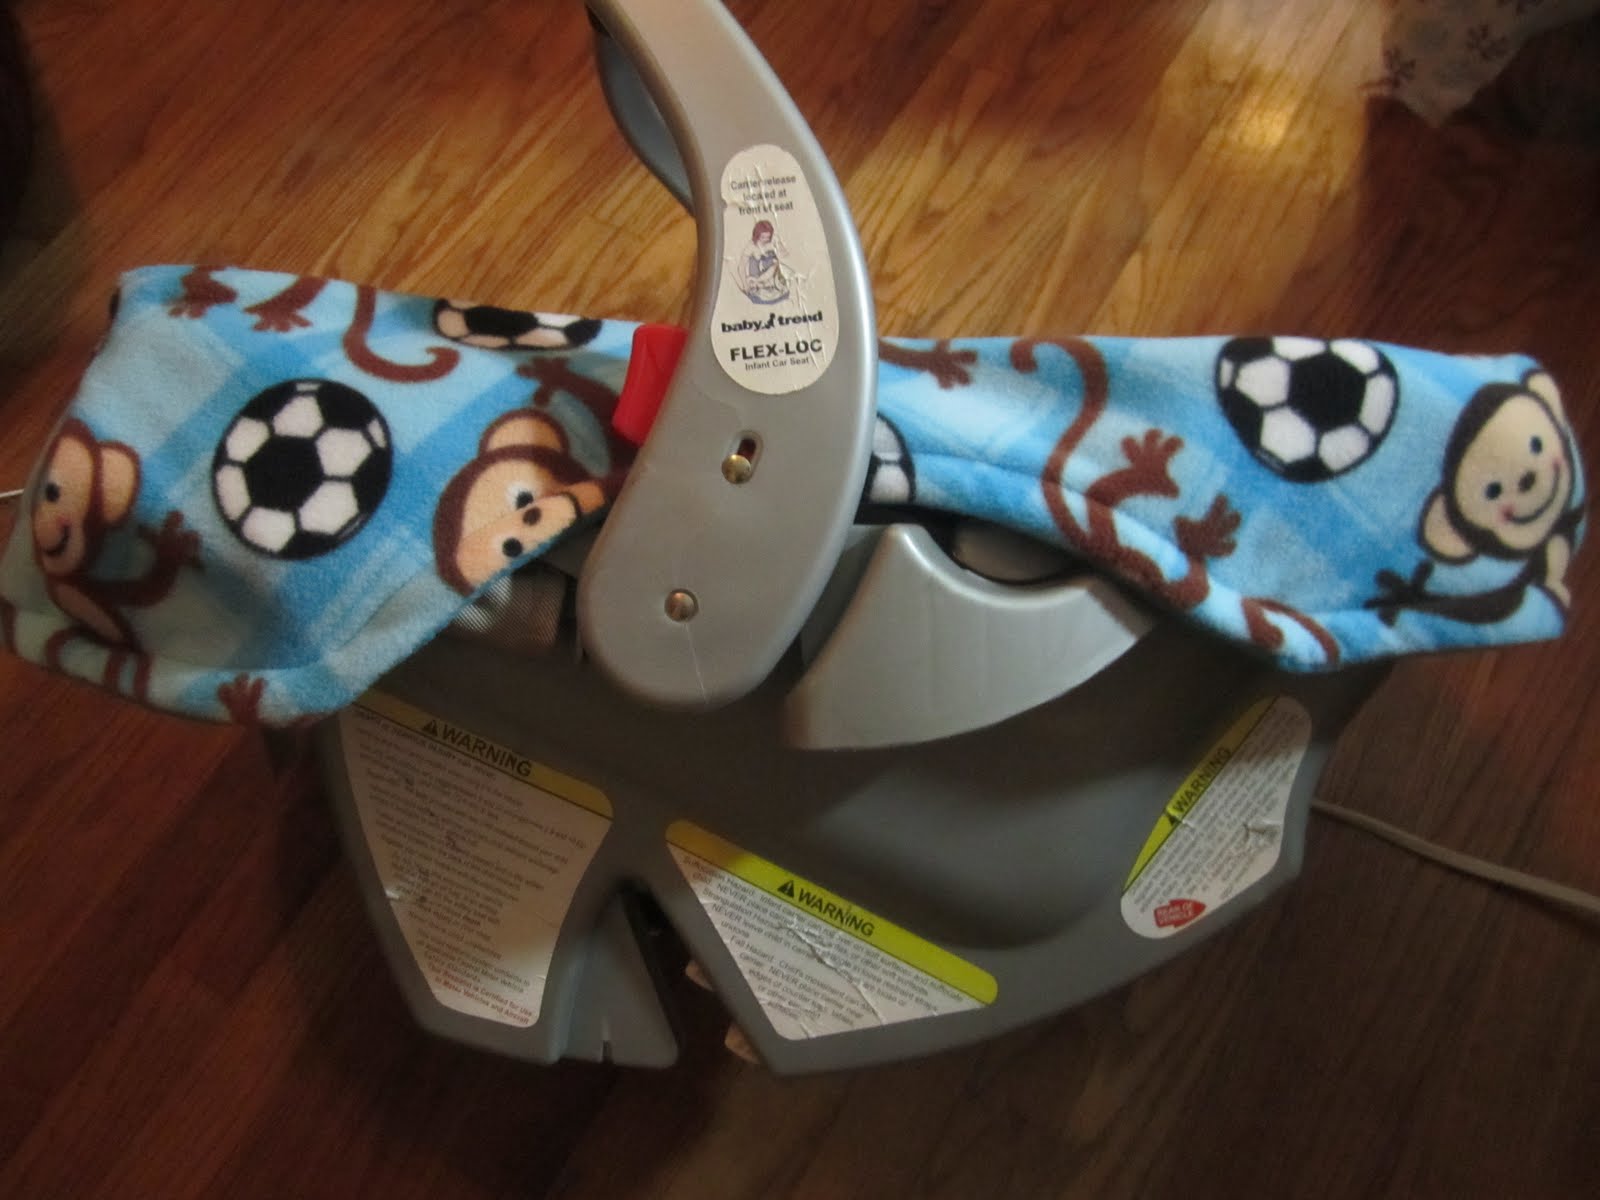
So now you have a shape something like this (pardon the mess, our toddler's play area has the best light):
Of course, you can put your seam where ever you want to, but I wanted my last seam to be at a handle because I felt that it would hide any weirdness better. Here's a shot of how the tube/ring of fabric looks on the seat:
Once I liked how the curves fell, I top-stitched along all the edges, making sure to leave a 1/2-3/4 inch channel along the bottom edge, where we will thread our elastic shortly. Then I pinned my edges together and stitched the fabric strip into a ring, leaving the channel for the elastic open. (Make sense? Probably not...)
Next step: fitting the fabric to hug the top of the car seat. I arranged my fabric ring so that the contours lined up with the handles and grabbed some pins. I started folding the fabric at the corners this way and that until I liked how the fabric folded around the seat. I ended up doing just one fold at each corner, but looking back, I think the bottom of the seat (where the baby's feet go) could have used one more fold or pleat right in the middle.
Pinned folds. It looks kind of loose because it doesn't have elastic in the lower part of the tube yet.
Stitch down both edges (outer and inner) of the folds to make sure they don't flap around.
Now it's time for elastic! Find where you left the openings for the channel and cut your elastic. I cut mine at about 50 inches long. Thread it through using a big safety pin or one of those cool threading things that would be soooo nice to have for this project. :)
Once you're all the way through, safety pin the two ends together so that you can tighten it around the seat and stitch it later.
Put your fabric ring back on the seat and play with the elastic until you like its tightness.
Check everything, especially the contoured areas to make sure they fit nicely. Pin your elastic at your desired tightness
Once you're happy with it, you can stitch the elastic together and finish the seam that you left open. I ended up tightening my elastic up a good 8 inches. To finish the seam, I held the end of my channel together and stitched it (through the elastic), then I pushed the raw edges of the seam over to one side and stitched them down in a kind of half felled seam. (Once again, that probably doesn't make much sense...but I couldn't get a good picture of it, either.)
Now that you're done with the outer part of the cover, you can do the actual cover part! I laid my remaining fabric out on the seat, roughly cut it to the correct size, took it off and trimmed it some more, checked its size, trimmed it some more, etc. until I had the size I wanted. Mine ended up being 15 inches by 23 inches.
Stitch it right sides together, leaving a gap for turning. Turn right side out, check the size on the seat again before top stitching it! Once it's top stitched, position it on the car seat and pin it to the ring of fabric. I pinned mine about half way up the ring (up to even with the handle) so that I could get the child in and out of the car seat without removing the cover.
Now you stitch the top of the cover onto the ring of fabric. This takes a bit of maneuvering since you're fighting elastic, too.
Almost done! Now you just need a way to close the flap over the baby so that the cold wind stays out. I decided to use some velcro. You could use snaps or magnets or velcro all the way around the edge (unlike my few spots of velcro).
Whatever the case, secure your closures and put the baby in it!
It keeps the baby nice and comfy on those cold, windy days. I do have to pull up on corner of the cover to tighten and loosen the car seat straps, but otherwise the cover can stay on the seat all the time.
Now that you survived that uber-confusing explanation of how I made this thing, have fun trying it yourself! I recommend having a car seat right there with you while you are making it because there are so many styles and models of car seats. Unless you have the exact one I have, you're going to need to figure out the best measurements for your seat.
If you read all of that, congratulations! I hope you enjoyed it. :)
~Regina