I having been looking for a cute ironing board cover for a while. I finally took it upon myself to make one because I just couldn't find what I wanted. I took tips and ideas from two other ironing board cover tutorials.
This one is more thorough and a bit more involved.
This other is a bit more simple.
Materials:
-2 yds of fabric (for my 53 inch ironing board)
-5 yds twine or string
-coordinating thread
-typical sewing stuff
Ironing fabric--always a good way to start a project. (Note: I always pre-wash and dry my fabric, too.)
Then I laid out my fabric on my cutting board and laid my ironing board on top of it.
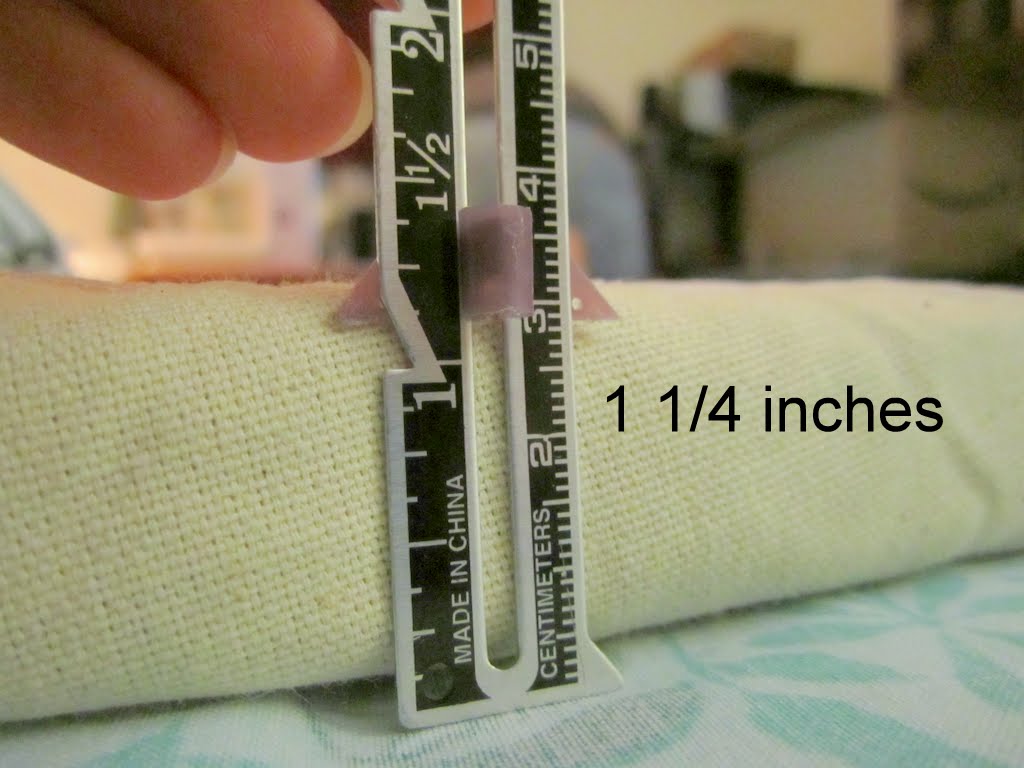
I measured the depth of my ironing board...
and decided how much of a hem and lip I needed to hold the cover securely. I added 1.5 inches.
And then cut it slightly larger (because I'm really bad about cutting things too small).
All cut out.
I turned it under 3/4 an inch, pinned it...
and then ironed the edge down. I found it easier to work with the curves with them nicely ironed.
After the initial ironing, I turned the raw edge of the fabric under to meet the fold and began to tuck the string into it. I pinned the hem closed to hold the string in. I believe this is much easier to do this way rather than trying to feed the string around an already-sewn channel.
All folded and strung! This is the "back end" of the cover (not the pointed end).
I marked the center (the vertical line) and measured the positions for the button holes so that they would be evenly spaced.
Button holes sewn! They aren't perfect, but they're going to be under the bottom of the ironing board anyways.
Cut them open (carefully!), threaded the string through them and pinned the channel to make sewing easy.
Then I used my zipper foot to run right along the string and close it in nice and securely.
Of course, I didn't think about which side the zipper foot would have to be on, so I faced all of the pin heads the wrong way! Oops!!
But otherwise, sewing the channel was super easy and I finished it quickly. I tied off the ends of the string to make them prettier.
Laid out the finished cover....
...and cinched it around my cover. It fit perfectly. I had to work some wrinkles out by moving the fabric along the cinched string, but eventually it all laid tight and smooth.
I tied the strings into a bow and tucked them up under the backside of the cover. All done!
Now go make your ironing board pretty!
~Regina


Nice! I like your nifty ruler.
ReplyDelete