Basic Bread Dough
1 tablespoon dry active yeast
1/4 cup white sugar
1 cup warm water
3 tablespoons oil
2 1/2 cups flour (or my preference: equal amounts of regular and whole wheat flour)
1 teaspoon salt
Prep time: 1 hr, 15 min-3 hrs (depending upon how long you let it rise and how many rises you do)
Oven: 400 degrees F
Bake time: 20 minutes
Yield: one 1 pound loaf
First, a short caveat about yeast. This is a repeat of what I said in my original pizza recipe post, but it bears repeating here:
1. The water-- Most recipes will tell you to use lukewarm water. I've found that the water is fine as long as it feels warm or even hot but I can keep my finger in the water comfortably. When I was first learning how to make this dough, I used a candy thermometer and tried to get the water between 110-115 degrees F.
2. Proofing--This is when you dissolve the yeast in your warm water and wait 5-10 minutes to let it grow. This was done to make sure the yeast was alive, which is usually not a problem these days (assuming you've stored your yeast properly). So as long as you are confident that you aren't going to kill the yeast with too-hot water, you can skip this step. It saves you about 10 minutes, which is fairly significant.
3. Yeast & salt-- These two should not be brought into direct contact. Salt can kill the yeast if it is sprinkled onto it, so I always put my salt in last, on top of the flour.
Back to the recipe!
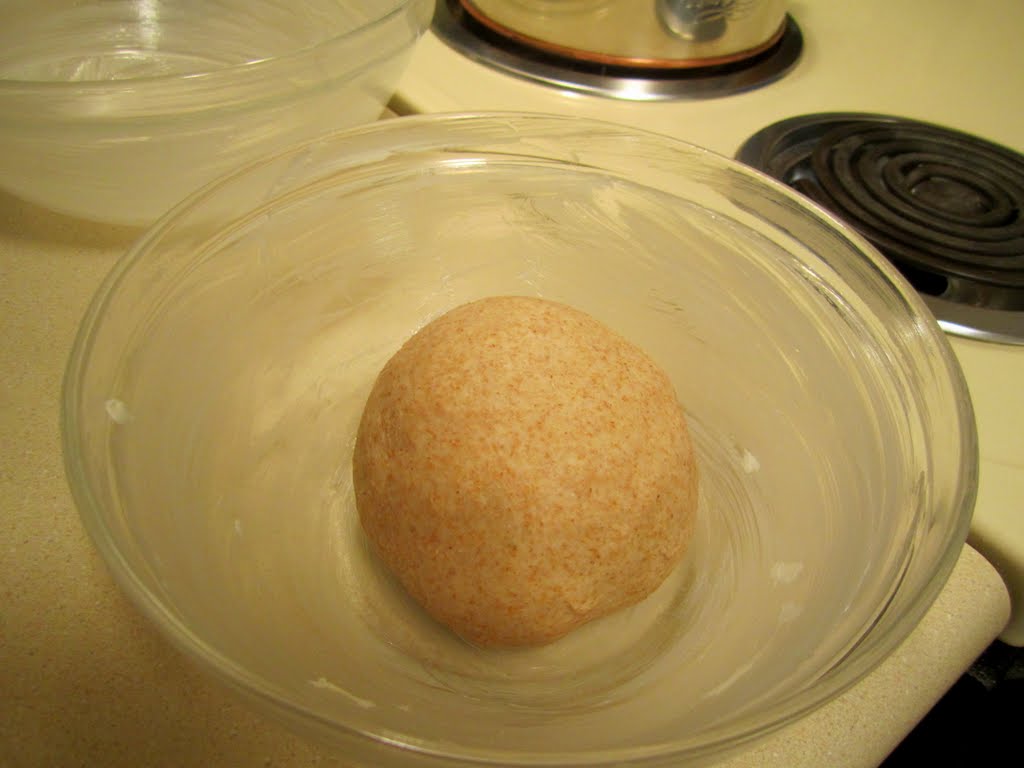
Throw everything into your mixing bowl in the order listed: yeast, sugar, water, oil, flour, salt. You can wait for the yeast to proof before you throw in the oil, flour, and salt if you so desire, but I don't.


Sometimes I let it rise a second time, if I'm not in a hurry, otherwise I shape it into whatever I'm making it. In the case of these pictures, I was making a HALF-loaf, semi-free form. I like to flour the top and then slash it. (Note: If you are making a FULL bread loaf, then shape it into a kind of oblong shape and drop it into your greased bread pan. Let it rise until it's a little above the top edge of the pan. Bake as normal.)


Enjoy!
~Regina
Feel free to post a comment if you have any questions. The comments are moderated, so I should see any questions, no matter how long it has been since this post was published.
Do you punch it down if you want to let it rise a second time?
ReplyDeleteHi Becky! Yes, punch it down and gently reform it into a ball for a second rise. Don't work with it too much (too much would be kneading it again) because you don't want to break the gluten strands/fibers that are forming as a result of resting and rising.
ReplyDeleteAnother question: I want to make a full loaf -- can I still do it free-form on a cookie sheet like you show in the picture? I want to use it to make garlic bread for my dad's birthday dinner tomorrow.
ReplyDeleteI didn't knead it too long -- I hope I did it enough the first time. It was very soft and a little sticky so I was nervous about working too much flour into it. We shall see! Making pizza dough and artisan bread is pretty much all of my "bread" expertise to date.
ReplyDeleteYou certainly can make a full loaf free form. I've done it many times. You can shape the loaf however you want, but I generally do an oblong shape to fit the cookie sheet you see in the above pictures.
ReplyDeleteThen just make sure you bake it 20-25 minutes (or until it's nicely browned and sounds hollow when tapped--humidity and differences in ovens can make a significant difference in how long a loaf needs to be baked). I've been stupid and forgotten that I was making a full loaf and only baked it half the time--I have yet to find a way to re-bake a half-baked loaf of bread. :-/
I hope it turns out wonderfully!
I should add: yes, it is a very soft dough. Adding more flour won't hurt it significantly, though. I've added way too much flour (1.5 times the amount I needed) and it turned out fine--I just had to let it rise 2 times for a long period (1.5 hrs and 1 hr) and then for a long time again once it was formed (45 min-1 hr).
ReplyDeleteOn the second rise now! I will let you know how it turns out. I feel good about it.
ReplyDeleteYet another question....when you make only half the loaf, do you just refrigerate the dough? Make two and freeze one?
ReplyDeleteWhen I make half a loaf I typically just use half the ingredients: 1/2 tablespoon yeast, 1/2 cup water, 2 tablespoons sugar, etc.
ReplyDeleteI haven't tried refrigerating the dough mainly because our fridge is very small and throwing together a loaf is so easy.
I have frozen the dough before and it can work well, but between my freezer not being the greatest and my not storing the dough well, I have not had dough frozen for longer than a week turn out very nice (it typically is too moist and when baked is a bit flat). I have never frozen an already-baked loaf. It never crossed my mind to try that.
Here are pictures. It turned out beautifully.
ReplyDeletehttp://southofsunnybrook.blogspot.com/2010/12/garlic-bread.html